Watercolor Pouring?
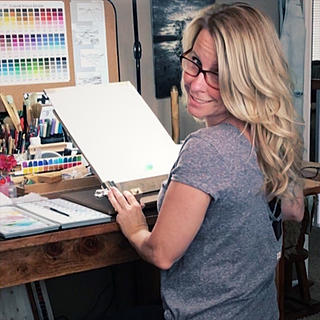
- Buffy Kaufman
- Sep 21, 2025
- 5 min read
Updated: Feb 24
What is Watercolor Pouring?
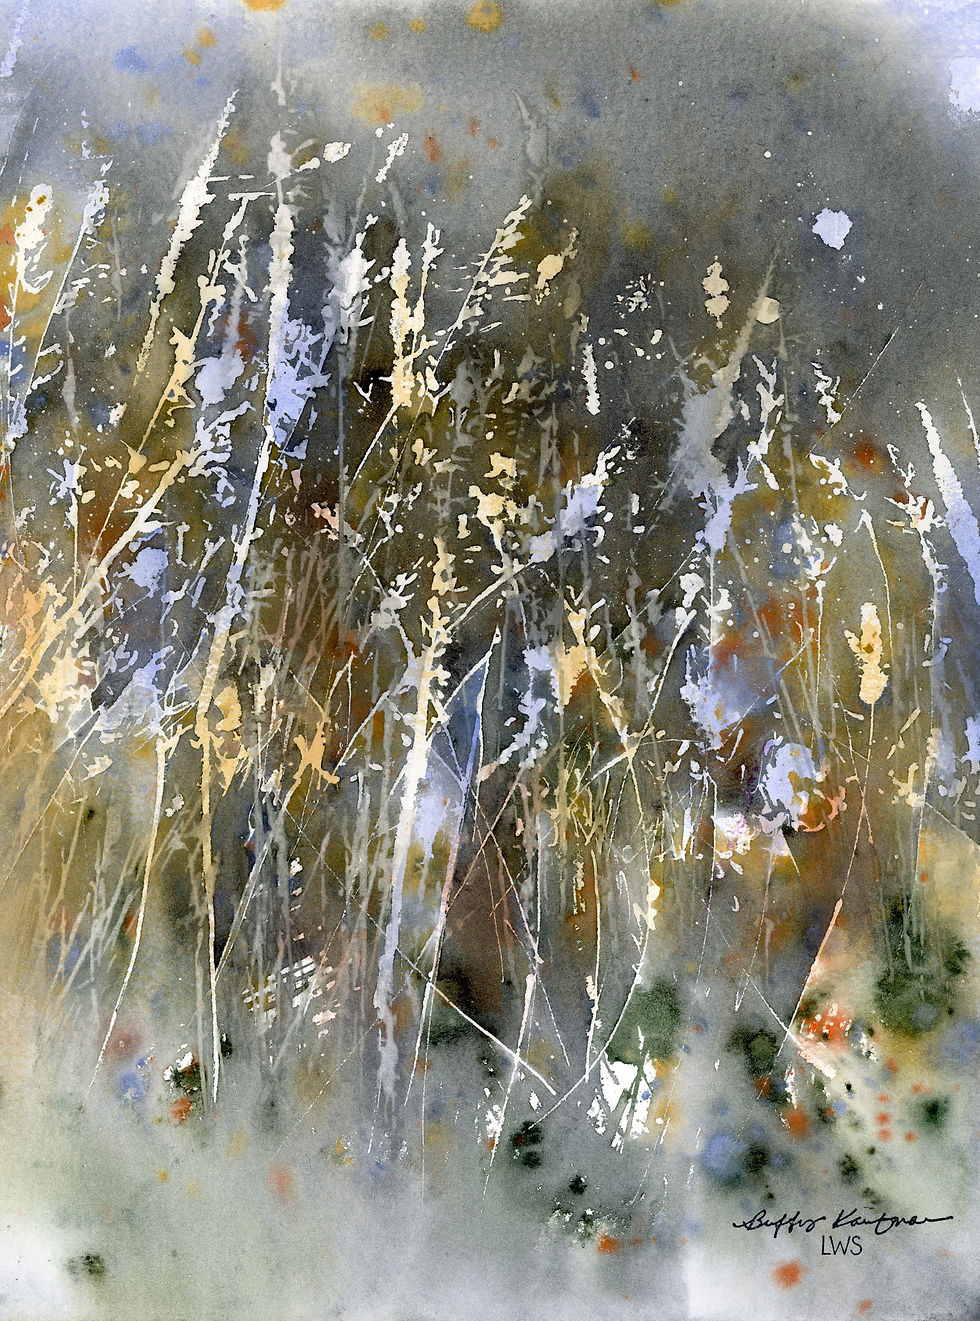
Watercolor pouring is a type of watercolor application. By pouring transparent colors onto a dampened paper surface and then using gravity to guide the flow of paint, we create dynamic color blends and intriguing light effects. This technique allows for loose, fluid, and often atmospheric results.
"The watercolor pour technique has taught me above all else to go with the flow, make it your own, experiment, and find what works for you. Here is what works for me..."
Watercolor Pour Method: (No masking fluid)
Prepare paper by taping it onto hardboard using artist tape
Sketch a design using an F drawing pencil. Be sure your sketch is easy to read; once you start pouring, it is very easy to lose your lines.
Using a paintbrush, wet your entire paper except the lightest value (leave this bone dry, as it will become the whites of your painting).
Pour transparent watercolor(s) onto the wet areas of the paper using plastic pipettes, while avoiding the dry areas. Allow the colors to blend by leaning the board back and forth, and drip any excess paint into the tray or blot along the tape line with tissue paper. Be cautious not to let paint drift into dry areas.
Once 100% dry, repeat this process, each time only charging color into the wet areas and being very careful to avoid the dry.
Repeat as needed until desired values are achieved. (light, mid, dark)
I recommend no more than three pours (this keeps your colors from becoming muddy).
Hand finish with traditional painting using color mixes from initial colors used in pours.
Reminder: After each pour, allow it to dry 100% before starting the next step.
Watercolor Pour Method: (Masking Fluid)
Prepare paper by taping it onto hardboard using artist tape
Sketch a design using an F drawing pencil. Be sure your sketch is easy to read; once you start pouring, it is very easy to lose your lines.
Mask your whites, allow the masking fluid to completely dry, and then, using a paintbrush, wet your entire paper.
Pour transparent watercolor(s) onto the paper using plastic pipettes and allow to blend by leaning the board to and fro and dripping excess paint into the tray or blotting along the tape line with tissue paper.
Once the paper is 100% dry, repeat this process by masking the next lightest value, allowing it to completely dry again before pouring transparent watercolor(s).
Repeat as needed until desired values are achieved. I recommend limiting the number of pours to no more than three, as this helps prevent your colors from becoming muddy.
Remove masking fluid with rubber cement pickup
Hand finish with traditional painting using color mixes from initial colors used in pours.
Please remember to allow each masking to dry completely before proceeding, and ensure that each pour is also fully dried before starting the next step.
Watercolor Pour Method: (Sectional Pour)
You can pour one section at a time by first wetting the area where you want to add color, then pouring transparent watercolor(s) onto the wet parts of the paper while avoiding the dry areas. Allow the paint to blend by tilting the board back and forth and dripping any excess paint into the tray or blotting along the tape line with tissue paper. Be cautious not to let paint drift into dry areas. This method can be used to create beautiful backgrounds, foliage, and dynamic skies. I also use this method when painting roses and succulents, pouring a few sections at a time.
Watercolor Simplicity - Limited Palette
There is something amazing that transpires when you limit your palette to the primaries, discovering new blends and vibrant hues of violets, oranges, and greens that you would never find straight from a tube. You will be surprised at the endless color possibilities!
Keep color swatches with the names of the trio written on the back; these colors will help develop a color library.

Six-Color Limitless Palette:
This is my core palette, but I will often switch out other Hansa, Quinacridone, and Phthalo colors. They are all smooth mixers, allowing new color discoveries and effortless blending.
Hansa Yellow Light
Quinacridone Sienna
Quinacridone Red
Quinacridone Magenta
Phthalo Turquoise
Phthalo Blue Red Shade
—This palette includes secondary colors, which allow ease in mixing rich, vibrant browns, subtle greys, and transparent blacks.


Anchoring the Pours with Staining Colors
When you pour diluted paint across a wet surface, staining pigments (like phthalo & quinacridones) sink into the fibers of the paper. Unlike non-staining pigments that can lift off easily, these staining colors “lock in” and hold their place. This helps anchor the color and prevents everything from floating away in subsequent pours.
Building Transparent Layers
Pouring often involves multiple layers of diluted paint, one on top of another. Using staining colors lets you glaze successive pours without muddying or disturbing earlier layers.
Crisp and Soft Edges
CRISP:
Masking fluid is commonly used in pouring. After removing the mask, the artist will choose whether to keep the hard edges or choose to soften them. Staining pigments create a strong contrast between the protected white paper and the stained surrounding areas.
SOFT:
To soften, use a damp to semi-wet brush and gently glaze over the unmasked area with clean water. This will reactivate the surrounding paint. Staining colors will barely lift, allowing for softer edges and slightly tinted whites. Non-staining pigments might lift or soften too much, but staining colors keep edges defined.
Lifting and Direct Painting:
If your underlayers are made with staining pigments, they won’t lift when you rewet areas, so you can add new passages of color or detail without disturbing the poured foundation. However, you can lift even the most staining colors with stencil lifting. I will share more on that in a future blog post.
Watercolor Pouring as a Form of Praise:
Often my watercolors are inspired by walks in nature and are prayerfully considered; watercolor pouring allows these inspired watercolors to have an atmospheric and ethereal quality. Pouring watercolors onto paper and witnessing the colors combine to create light and shadows fills me with wonder. This is how I give praise; this is my joyful noise.
Psalm 62:8
Trust in Him at all times, you people; Pour out your heart before Him; God is a refuge for us.
Watercolor Pouring Learning Resources:
Books:
Pouring Light, by Jean Grastorf
Watercolor: Pour It On by Jan Fabian Wallake
Fill Your Watercolor with Nature's Light by Roland Roycraft
YouTube Channels: Watercolor Pouring Videos:
Come explore the fluid beauty of watercolor with an emphasis on color and composition. Watercolor pouring is a spontaneous and exciting way to paint! I hope you enjoy this list of watercolor pouring channels from YouTube.
Buffy Kaufman
Leslie Lambert
Ryan Fox
Watercolor Pour Project Examples:


Comments